
Adding a post-purchase offer can increase the Average Order Value (AOV) by incentivizing customers to add more items to their purchase through tailored promotions or discounts immediately after their initial transaction.
In this article you'll find:
- Seting Visually as your Post-Purchase app
- Setting up your Post-Purchase Experience
- Limitations & Considerations
- Managing Failed Payments on Post Purchase Items
- Related articles
Before you start
Shopify will only allow you to have 1 Post-Purchase app to run in your store at any time
How to set Visually.io as your Post-Purchase app:
- On your Shopify Admin, go to Settings > Checkout
- Find the "Post-purchase page" at the bottom of the page, and choose Visually app
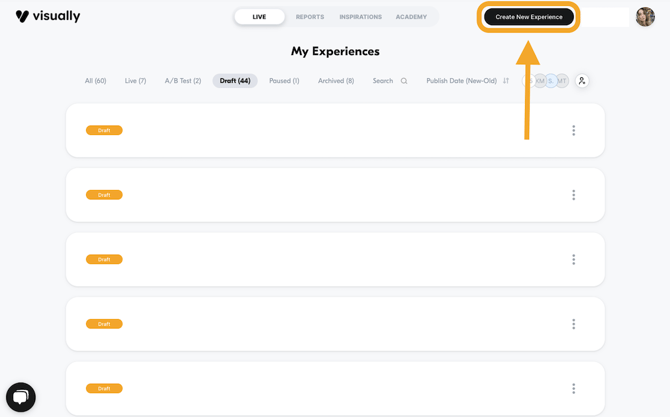
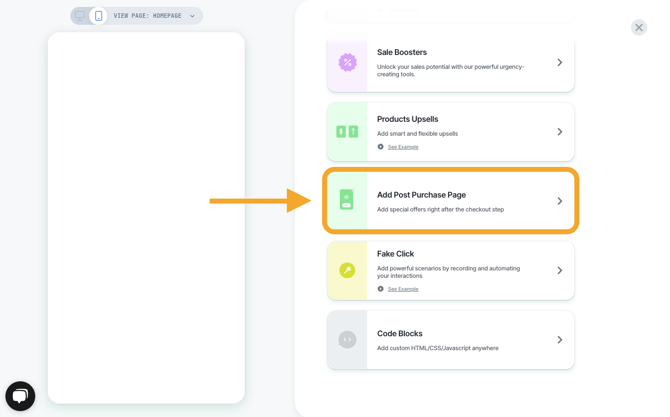
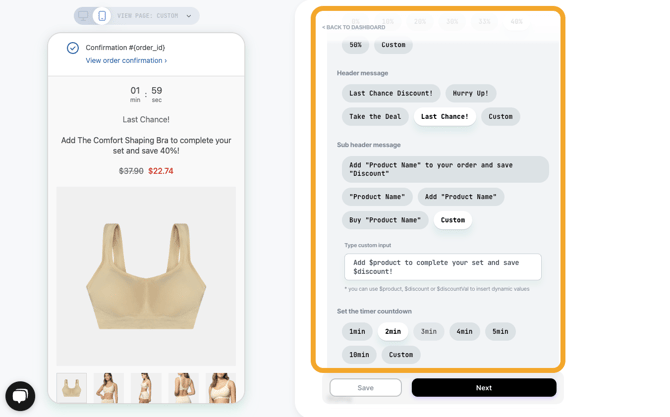
Setting up your Post-Purchase Experience
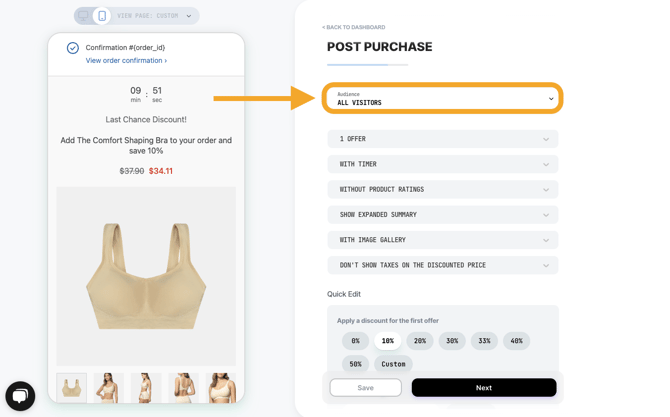
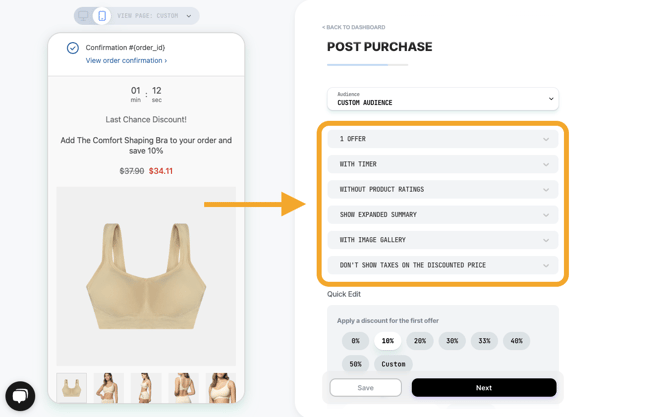
3. Define the audience. You can have multiple post purchase upsells active at any time, but make sure that the Audience settings don't conflate with one another by setting a custom audience.
The Post Purchase will inherit the checkout theme style on live

7. Select which products to offer. You can select manually or use a set of rules.

8. Choose whether to pre-select a variant by toggling Yes or No. 
9. You’re all set! Save the changes and click on the 'Next' button to publish.

11. Choose if you want to schedule the experience to publish during a specific time.
Limitations & Considerations
Reading Shopify's official guide on limitations will help you understand when and how the Post Purchase feature works in Shopify. Here are some that we would like to callout:
- Post-purchase upsell offers won’t be surfaced on orders with duties and multiple currencies.
- Post-purchase offers can be displayed in English only.
- Post-purchase upsells can't be paid with installment providers.
-
Shopify runs the post-purchase page runs inside an isolated frame and therefore does not allow you to set a Custom javascript as the trigger/custom audience (e.g. a custom audience by a javascript or data layer variable).
-
You can't create a post-purchase offer that modifies a subscription on an order with an existing subscription, adds a subscription to an order with an existing subscription or converts a one-time purchase into a subscription order.
Important Notes
-
The Post Purchase will inherit the checkout theme style on live.
-
You can currently create up to two offers in a single experience.
-
Only if the customer rejects the first offer, they will receive the second offer.
- We currently don't support subscriptions with post purchase
-
The default setting includes taxes in the prices
Managing Failed Payments on Post-Purchase Items
If a shopper accepts a post-purchase offer but their payment is declined (either by their bank or by the payment processor) the post-purchase item will still be added to the order and marked as Partially Paid. Shopify then emails the customer with a link to complete payment and if payment success, an additional transaction appears and the order updates to Paid.
To help keep orders clean, Visually includes an optional setting to remove the unpaid post-purchase items, allowing the order to return to a “Paid” status after a short time buffer. This toggle is disabled by default and available in Account Settings for stores with active post-purchase experiences.
Related articles
How to save and re-use widget styling
A/B testing a Post-Purchase experience
For further assistance or questions, reach out on the chat support widget or via support@visually.io.