
Before you publish
Before making your Experience live, it's a good idea to:
- Review all edits in the Editor.
- Test the Experience using the Preview Link.
- Once you have clicked on the Preview, you will have the option to choose from the following alternatives:
- Email Link: Click the Email Link button to open a new tab where you can enter the email address you’d like the preview link sent to.
- Copy Link: Next to the Email Link option, you’ll also see a Copy Link button. Once clicked, a preview URL will be generated, and you’ll see a success message at the top right of your screen.
- QR Code: Alternatively, you can use the QR code displayed above the Email Link and Copy Link buttons.
More information on this article on Preview (QA)
- Confirm your targeting and audience settings.
How to publish an Experience
- Open your Experience from the Dashboard.
- Review your changes in the Editor.
- Click Next in the bottom-right corner.
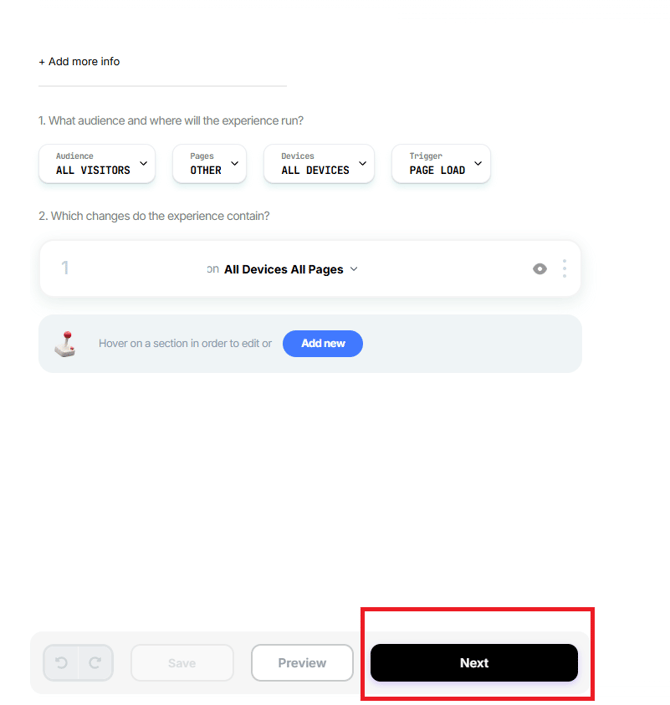
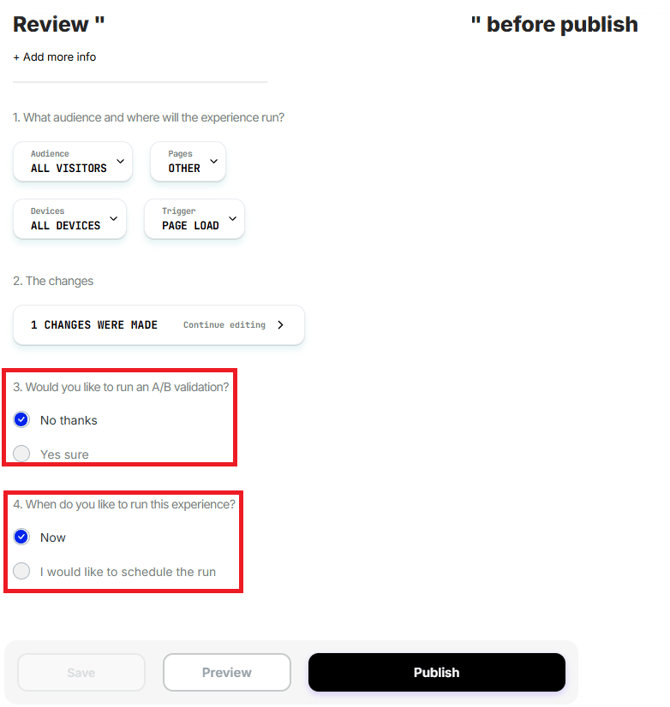
- Review your Experience settings, including:
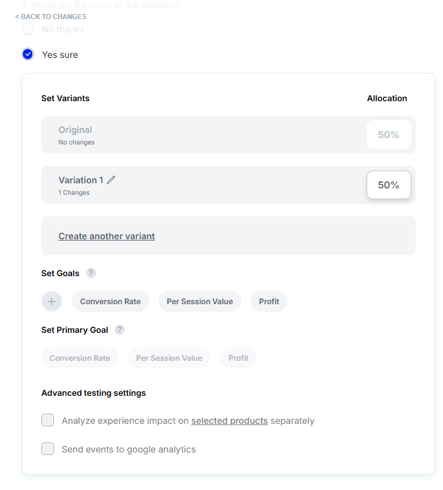
- Traffic allocation (for A/B tests)
- Targeting conditions
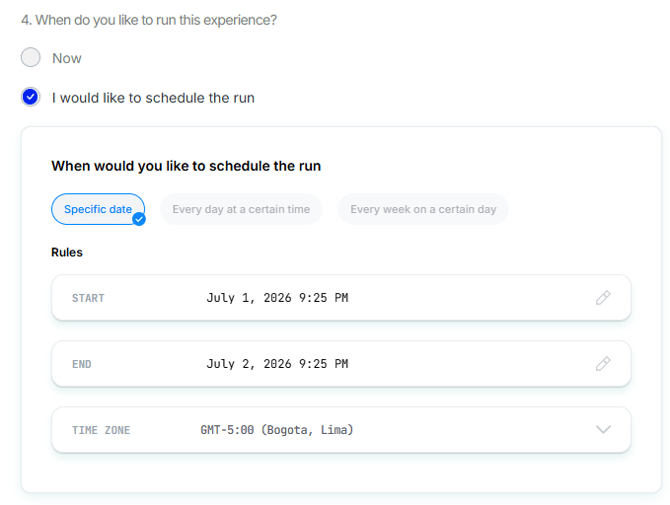
- Schedule (optional): Configure a start date and time, an optional end date and time, and verify the selected time zone. If your region observes daylight saving time, make sure your schedule reflects the correct local time.
- Traffic allocation (for A/B tests)
- When you're ready, click Publish.
Once published, the Experience will begin serving on your site based on its targeting rules and traffic allocation.
Configure A/B test traffic allocation
If you're running an A/B test, you can control how visitors are split between the Control and Variation.
For example:
- 50% Control / 50% Variation (default)
- 80% Control / 20% Variation
- 90% Control / 10% Variation
Choose the allocation that best fits your testing goals before publishing.
After publishing
After your Experience is live, you can:
- Monitor results once it gathers enough session from the Experience's results Dashboard.
- Edit and republish the Experience if you need to make changes.
- Pause or stop the Experience at any time.
Tip: We recommend previewing and reviewing your Experience one final time before publishing to ensure everything appears as expected on your site.
Having Trouble?
We’ve got your back.
Email us at support@visually.io or reach out on chat for help with setup or troubleshooting.